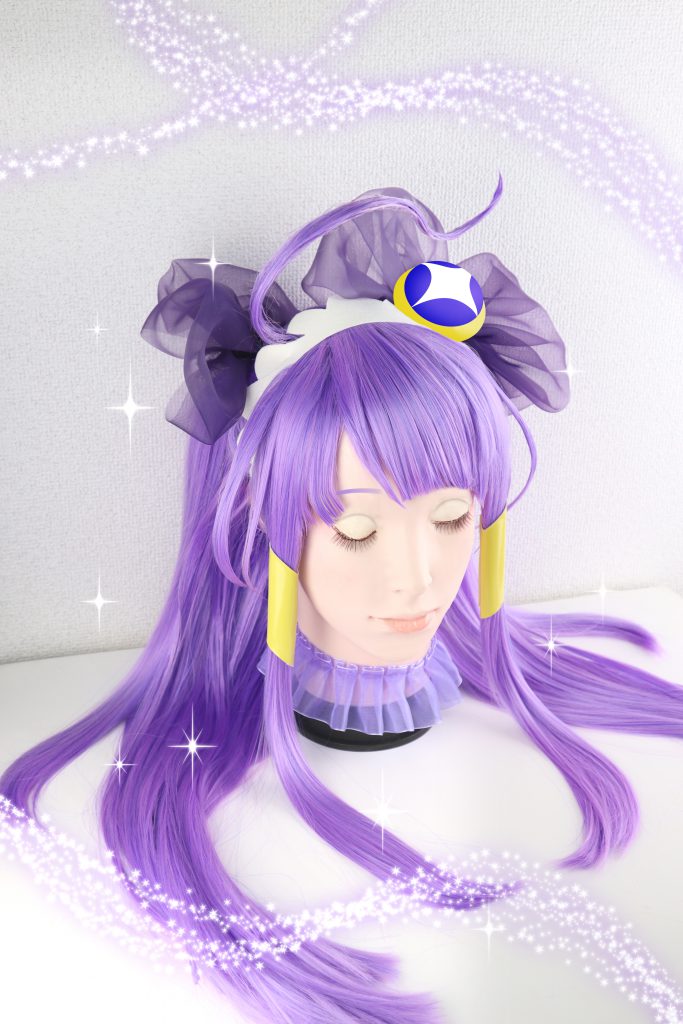
Ahoge freely ♪ How to make Cure Selene style wig
Star☆Twinkle Pretty Cure Series #4♪
This time I'm going to teach you how to do a Cure Selene style wig set!
Set-up tape (shape retaining tape) 7mm hard (white) (Go to chara-nuno site)
G Bond Clear
1. Prepare the setup tape.
Cut a little longer than the aho hair you want to make, and paint it with Copic so that the color is similar to the wig.

Set-up tape is flat, moderately thick, and easy to apply color without being shiny, so it is recommended for the base of the wig.
2. Make a hole in the wig where you want to attach the hair and insert the colored setup tape.


Fold in the back side, leaving about 2 cm of the tape, and fix it firmly in place with glue. 3.

3. Scoop out the hairs around the setup tape, make the hairs stand back and give a three-dimensional effect, and attach the tape to the setup tape with bond or other means.
After pasting, use " SUPER GACHI SPRAY SGS" to harden the tape.

4. Attach clean hairs to the surface, and set the hairs to the tips to complete the three-dimensional ah-hair!

5. Next, take the hair in the area circled in orange in the figure and put it up two-side-up.
Leave more hair on the sides, and tie it only on a part of the sides without taking the hair at the back.
Tie the left and right sides in the same way. 6.

Cut and set bangs.
Part the bangs and shape them with an iron at the parting.

7. Create floating bunches of hair.
First, create the shape with an iron, then shake the spray firmly from the root to the ends, hold it in your hand at the position where you want it to float, and dry it completely with a hair dryer.
This will create floating hair bunches.

8. cut the hair in the back to create a rounded silhouette.
Make sure to trim the hair so that the ends are aligned.

10. Cut off a few ends of the two-side-up hair and curl the hair lightly inward.
Do the same with the leftover sideburns, curling them inward...

Finished!